Graphical Tools (rgl) on a Headless Shiny Server
If you’ve encountered errors such as
Warning in rgl.init(initValue) : RGL: unable to open X11 display
Warning in fun(libname, pkgname) : error in rgl_init
or
Error: rgl_dev_getcurrent
when trying to use a graphically based package like RGL with Shiny Server, then you’re in the right spot. The issue is likely that you’re running R or Shiny Server on a server which has no monitor attached to it (a “headless” server). Tools such as rgl require a graphical “X” environment in order to function properly. Since you have no such graphical system, the tools won’t work properly.
But you’re in luck! More intelligent programmers than you and I have blazed this trail before and created XVFB, or the X Virtual FrameBuffer. This system emulates a graphical setup without requiring that any screen is even attached to the server on which you’re running.
If you’re the DIY type, check out the instructions below. If you prefer the ready-made solution, you can try out one of our free, public AMIs on Amazon EC2. We have the base Shiny Server installation on Amazon Linux (described thoroughly in our previous post), or our new AMI with the installations and configurations described below already completed: ami-ec2dbf85, “ShinyServer-RGL-XVFB”. Whichever path you choose, make sure that you have the proper firewall ports open (3838, by default) to access Shiny Server remotely.
Installation
Most Linux distributions already have a pre-built library for XVFB which can be installed using your package manager (likely yum or aptitude, if you’re not sure). If you’re using our Shiny Server AMI on Amazon’s EC2 (setup described here), then you already have the necessary dependencies installed.
Once you have XVFB setup, you’re ready to install rgl (or whatever other graphical package you’re looking for). If you’re on Ubuntu, you can find more detailed instructions about dependencies for rgl at our post on that topic in particular.
You should now be able to test your setup by starting XVFB manually, setting an environment variable for your display, then starting Shiny Server manually. (If your server is already running Shiny Server, you’ll need to stop that instance first. Try service shiny-server stop or stop shiny-server). Now you’re ready.
Xvfb :7 -screen 0 1280x1024x24 &
        export DISPLAY=:7
        shiny-server
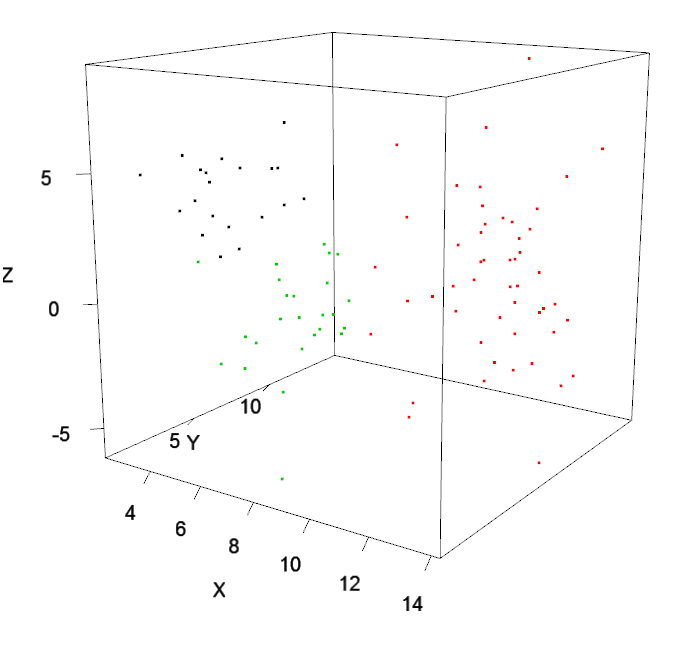
which will start a virtual X session using XVFB on :7, set your DISPLAY environment variable accordingly, then start shiny server (assuming all of these tools are in your PATH). You can now try loading an RGL-based shiny application (you can try ours if you don’t have one). If things go well, then you have all the necessary ingredients to do some cool 3D apps with Shiny!
Automation & Configuration
The final step is automating this configuration so that it will load automatically on boot. If you’re using the older init.d style scripts, unfortunately, you’re on you’re own. You can likely hack a few lines into an rc.local file to get XVFB to run automatically on boot. If you’re using the newer Upstart system, then it’s a bit easier; you’ll just need to slightly tweak your /etc/init/shiny-server.conf file. Look at the script section of the file below for guidance.
# shiny-server.conf

description "Shiny application server"

#start on stopped networking

start on stopped rc RUNLEVEL=[S3]
stop on runlevel [016]

limit nofile 1000000 1000000

script
        Xvfb :7 -screen 0 1280x1024x24 &
        export DISPLAY=:7
        exec /usr/local/bin/shiny-server >> /var/log/shiny-server.log 2>&1
end script
respawn
This file will preface the shiny-server execution with the Xvfb startup lines we saw previously. This way, Shiny Server will always have access to that Xvfb screen when running its apps.
Now go make some cool apps! A couple of examples to get you started: color plots, and arbitrary 3d points (both with source code available on GitHub). Let us know in the comments if you’re able to build anything interesting!

